Welcome to the Living Bread Masterclass
Welcome to your digital kitchen dashboard. Below you will find your bite-sized video modules, your printable companion guides, and your direct portal to ancestral gut health. Your lifetime access is fully unlocked. Work through the modules at your own pace, trust the slow cold fermentation process, and let's get baking.
Find corresonding instructional PDF's below each corresponding video.
Welcome & Equipment
Start here! Watch this brief 60-second orientation to unlock your master roadmap, understand the biology of our ingredients (click PDF below), and learn how to navigate your hidden student workspace seamlessly.
Nutrient Dense
Nutrient dense food is always my goal.The flours I use are for optimum health results. Results you can actually feel! Nothing but the best for myself and my family and yours.Click the PDF below for details and links to best flours.
Start with the Starter
Once you complete this process you will have an active, well developed starter to use for baking. You will not need to repeat this process each time. Watch this video to understand why.
Float test
After day five or six your starter should be ready to mix your dough. Do the float test to find out. Drop half a teaspoon on starter into a glass of water. If it floats great! If it sinks watch the video on boosting a sluggish starter.
Let's get mixing
Now you have your robust active starter ready to go. Follow the PDF's in the section below to begin mixing your dough. As this may be a new appraoch for you I strongly suggest reading each PDF guide through before beginning. Have all equipment ready before bginning each step.
Mixing Autolyse & Dough
Autolyse is a bread making technique where mixing only flour and water helps hydrate the flour, building early gluten strength naturally, and makes the dough much easier to handle. We let it rest for 45 minutes to develop before adding starter, salt and olive oil.
Stretch & Folds
Letter folds develop the structure of your dough. This video shows how to do them and how often. After this you pop your dough in a cold 5c fridge.
Divide & Shape
Divide dough into three 600g portions, letter fold and shape. Place in proving bowls or baskets and place in cold 5c fridge to prove overnight before the morning bake!
Baking Day!
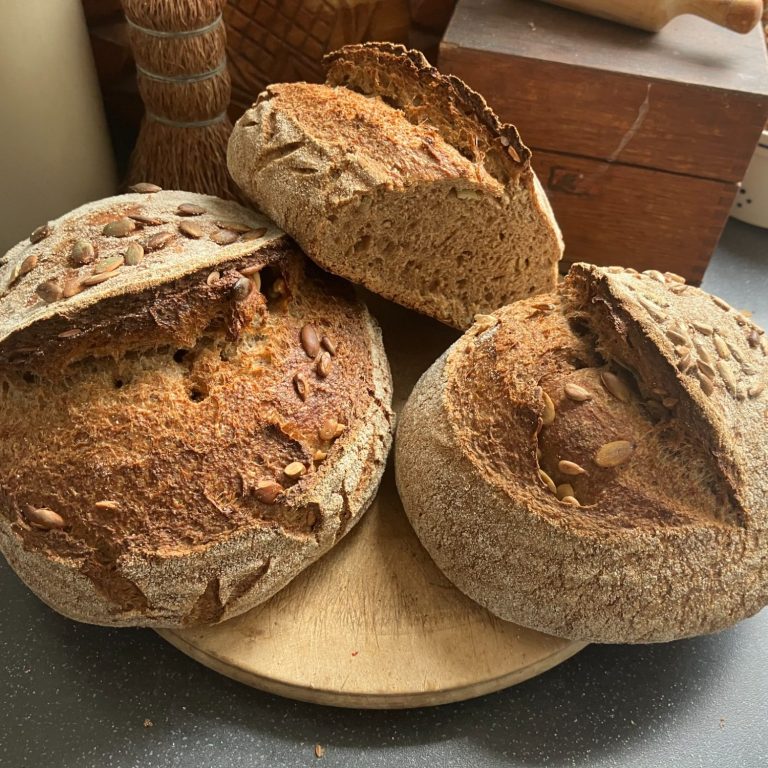
Scoring the top let's you control where the steam escapes to create a beutiful 'ear' as the crust curls back. When you slice across the fold the bread slices look like bunnies! You can also create lovely patterns by scoring around the sides. Create your own signature look!
Symphony of Nutrition
Fall in love with bread again!
Bread and gluten are getting a bad rap. When we understand any fermentation process which pre-digests the ingredients we begin to see how that process transforms the ingredients. Traditional sourdough is a fabulous example. Click the link below to read how the wonderful world of natural yeasts and bacterias transform gluten. While this cannot be considered gluten free bread it is certainly gluten modified. If you have unpleasant symptoms from eating traditional bread perhaps it is not the wheat or the gluten, perhaps it is the ingrediants and the method.
Fall in love with bread again!